 The Perils of 16:10
If you record with ScreenFlow on a MacBook, chances are you will be recording in 16:10 resolution. I get to use a late 2013, 15 inch retina display MacBook Pro when I make videos with ScreenFlow. If you haven’t used this machine in particular, it is tons of fun. It is powerful, beautiful and its high pixels per inch make the retina display shine! The only issue I run into is the native 16:10 resolution.
When creating an HD video, then uploading it to YouTube, you will want it to be 1920:1080, standard HD, which works out to an aspect ratio of 16:9. While you can change your canvas size in ScreenFlow to be 1920:1080, the recording from your MacBook screen will actually be a bit taller than your canvas. This unfortunate incompatibility, 16:10 vs. 16:9, means you either have to stretch your recording to fit, or crop off either the top or bottom. So frustrating!

Solutions
I have tried a few things to remedy this.
- An external, 16:9 monitor. While I no longer have any sizing issues when recording this way, I lose the amazing quality provided by the retina display. Losing quality at the expense of a cropped screen doesn’t really do it for me.
- Never going full screen. One way to get around this is to always be a bit zoomed in. If I never show the full screen, I never have to worry about odd sizing issues. Unfortunately, I have yet to run into a situation where a full screen shot isn’t required at least one time in my videos.
- Letterboxing. When uploading to YouTube (or Vimeo, Wistia…anywhere really) there is the option to letterbox your videos. In order to compensate for the slightly different aspect ratio of your recording size, you can insert black boxes on either side, or the top and bottom of your videos, to allow for playback within the frame of a 16:9 video player. This works nicely, but unless you are on board with the letterboxing aesthetic, this isn’t a feasible option.

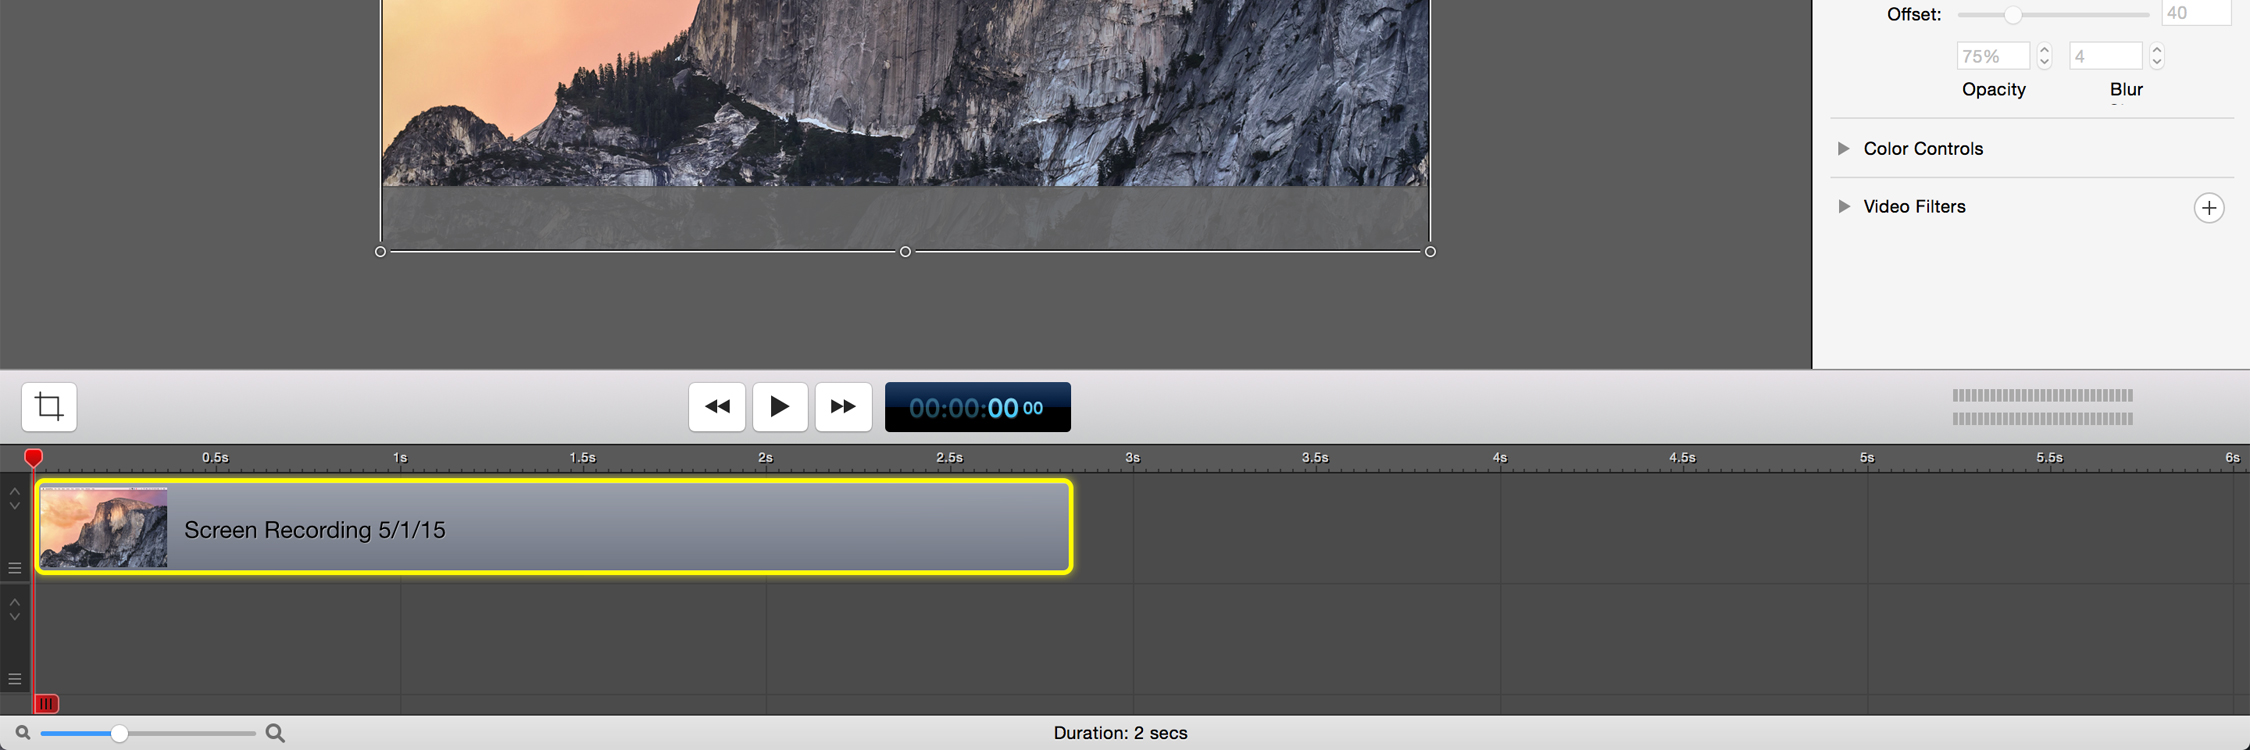
After quite a few frustrating attempts at finding a solution, I have finally settled on something that seems to work quite well for me. My awesome new desktop background:

Despite its boring and simple look, this is the best solution so far. What is this exactly? It is a 16:10 image for your desktop that uses the black border at the bottom to represent the area of your screen that will not be shown in a 1920:1080 ScreenFlow document. For example, after setting this image as my desktop background, if I am recording a Wirecast tutorial video, I can resize the bottom of the Wirecast window to line up with the black border. When I am finished recording with ScreenFlow, I can adjust the canvas size to 1920:1080, crop out the black bar at the bottom, and have a crisp, clear, un-stretched and nicely 16:9 video to work with.

Feel free to copy the image above and test it out for yourself! I would love to hear if it works for you, and other ways you have found to deal with your 16:10 resolution. Happy ScreenFlowing!
Interested in becoming a Telestream Affiliate Partner? Learn more here!
Great solution!
There is a solution for this that is, I think, better and yet still cheap. Buy QuickRes (http://www.quickresapp.com/) and you can put your Retina display into resolutions specific to what you’re trying to record. In my case that was 1280 x 720 and they also support the 1920 x 1080 resolution you’re after.
I think what makes this a superior solution is two things: one, there’s no extra step to crop the video down to the target size, it’s already the correct size when you record it and two, the menu and the dock appear as they should at the top and bottom of the recorded video. Neither is out-of-frame for the final version of the material.
Interesting! I use similar way to solve this issue.
BTW, if I record software simulation at retina resolution of 2880 x 1800, then I insert one AVCHD talking head clip of 1920 x 1080. Do I have to enlarge to AVCHD clip 150% to fit software simulation clip? Any suggestion?
You will have to change the size of one of the two elements. With the desktop background provided, you can make the original software recording in the 1920×1080 size to match your video. You can also just scale the AVCHD video to fit the canvas during editing. Good luck!
Awesome trick – works great, thanks so much!
Joanne
Lucas, I’m recording a narrated Keynote presentation on my MacBook Air using Screenflow 5. The destination is YouTube. How can I apply your solution (16:10 image) on to the Screenflow canvas where the Keynote slides will appear – before they appear as a recording? Or do I wait until I’ve completed the recording and then add the image to the canvas, play around with the cropping and finally adjust the canvas size to 1920:1080?
I’m a real newbie to this and it’s extremely frustrating trying to find a way to accommodate YouTube’s specs. BTW, the recording is 84 mins duration so it’s a decent size to upload. And YouTube has granted me the ok to upload videos of greater than 15 mins.