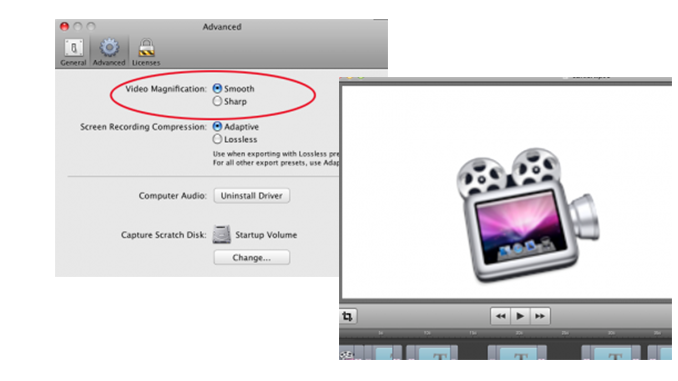
You may have noticed in your Preferences window an option to change your “Video Magnification” to “Smooth” or “Sharp”
 What does this mean?
Well, like any sort of compression or magnification, the mathematics and code behind this change are good, but are never exact. When you want to increase the size of a video (or an image), what the program is really doing is increasing the number of pixels that exist. The program has to use the information, or pixels, that already exist to create more information or data where none existed.
Currently, there are two primary routes it can take to do that.
1. It can take a sample of all the pixels around the area it is resizing, and take an average of the color, data, etc. to create new pixels that will approximately fit in with the existing pixels. This is what we call “Smooth” in the Video Magnification selection area. This can result in some areas of blurriness, as sharp changes in color will be averaged with contrasting colors in certain areas.

Here is an example of what the ScreenFlow logo looks like, blown up using the smooth selection.
As you can see, the areas between colors are a little blurry. The image isn’t as crisp as I would like it, but it’s not horrible.
2) Alternative to Smooth is Sharp scaling. When you use Sharp scaling, instead of taking an average of surrounding pixels to create new information, the program copies the next pixel over. This can result in a sharper image in some instances, since there are no blurry areas between colors, but it can also create some strange-looking patterns in your image.

Here’s the same ScreenFlow logo magnified using Sharp scaling. (Click on both pictures to see enlarged versions that will be easier to detect the differences.)
As you can see, the Sharp scaling is crisper, but it’s got a step-like pattern, caused by the program copying the next pixel over, again and again. There is no smoothing out of the pattern.
Depending on the images in your video, you may find one type of scaling works better than the other. The default is set at Smooth in ScreenFlow because the developers figured that 90% of the time the Smooth scaling will result in a better image. But now that you know the difference, you can make that determination on your own!
Happy ScreenFlowing!
Great to know! Also helps with general image editing!
A quick question. When does this take effect? On capture? In Edit? In Export?
HI Frank,
It’s in effect all the time – either as sharp or smooth. So when you’re capturing something or editing a PNG, and you have it set to Sharp – it will be rendering any magnification using the Sharp profile. If you then go in and change it to Smooth – all the magnification in your project will then be rendered smooth. You should be able to see the difference immediately when you make that change. Whatever you have it set to when you export will be how it renders on export.
Does that make sense?
So let me throw THIS at you Lynn:
I normally set my canvas to 65-75% of my screen’s native pixel dimensions so that I am able to either zoom-in or out to make a point during my screencasts. (Rarely do I ever zoom-up then over 100% of what I recorded to begin with.)
When finished I export this 1260p as a 900p wide video file.
My video preferences are set at their default(?) currently, “Smooth”. In Photoshop, if one intends to down-res an image it is often common practice to ‘sharpen’ and when up-res’ing to do that process w/a ‘smoothing’ algorithm (as you guys explain here). So my question here is: In that I alway intend to down-res my recorded screen capture for publication should I instead then set my Prefs to Sharp scaling?
OR might it be worth a try having the Prefs set to ‘Smooth’ during recording, then reset to ‘Sharp’ during export at that smaller, scaled-down size I mentioned? (Or am I over thunking this thing?) thx. m